RV Essentials We Use: Fundamental Gear That Earned a Place in Our New Fifth Wheel Trailer
There’s no shortage of RV accessories you can buy. These are things we actually use as fundamental tools.
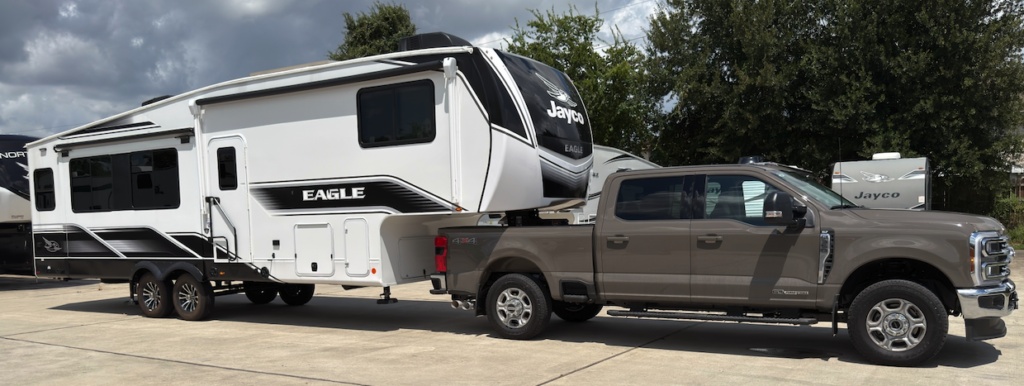
Image Above: Our new truck and fifth wheel set-up, © Jeff Goetz
Note: As an Amazon Associate, I earn from qualifying purchases. See Affiliate Disclosure page for more info.
Our son started university last fall, so we booked an RV site to have our bumper pull travel trailer in town for the 2025 football season. That bumper pull was a Jayco 224BH – great with the bunks for the kids and towable with our Ford F150. But, it was small for parents and two young adults.
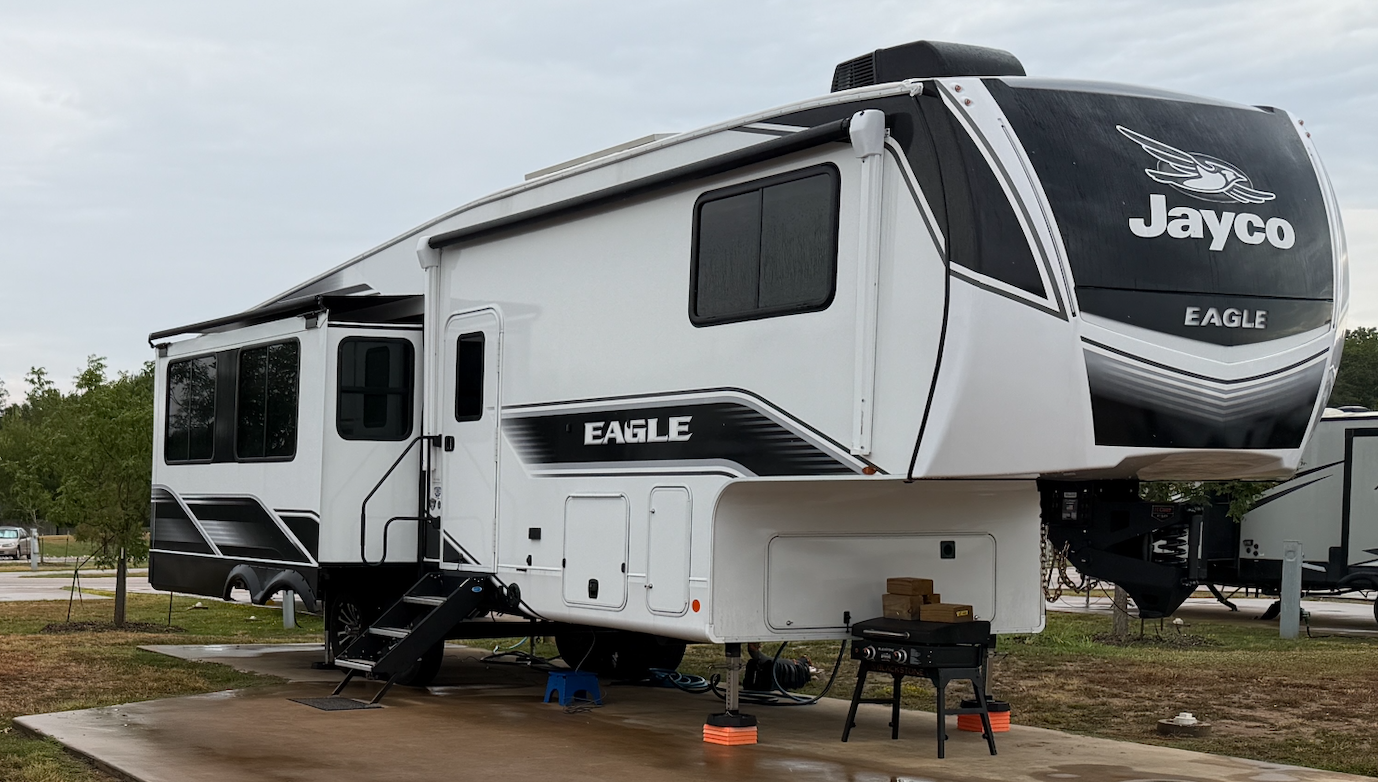
This spring, we upgraded from our bumper pull travel trailer to a Jayco Eagle 29RLC fifth wheel trailer. It’s probably another post to share more about that purchase and selection, but we did have a few purchases to make in getting the new fiver ready for football season.
We already had many of the RV accessories, having had two trailers before, but there were a few new items and some upgrades.
This article shares a few of them for your awareness and consideration.
Click here for Amazon Storefront RV ListLet’s Talk Safety First
Protecting your rig and your family should be number one priority.
So here’s a couple must-have’s to put in your inventory:
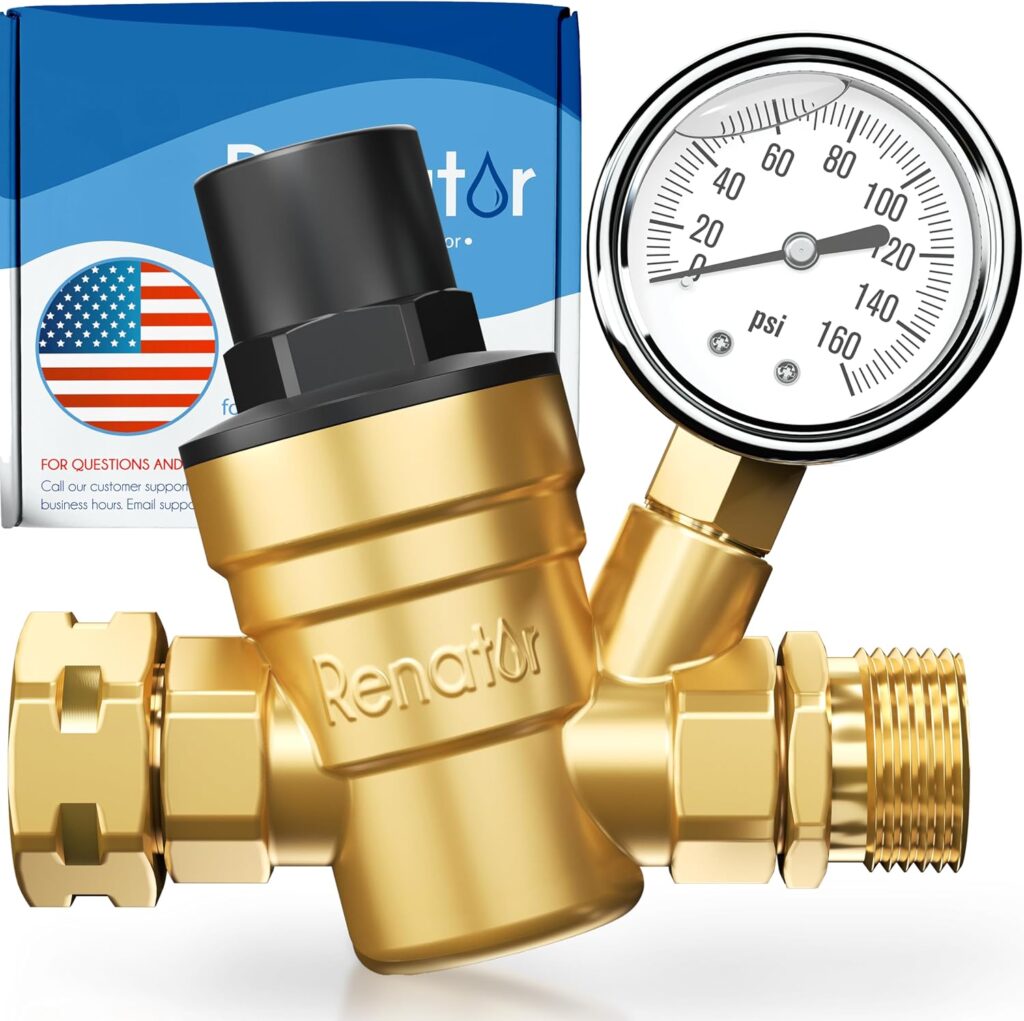
Managing the water pressure coming into your camper is key to avoiding overpressurizing your lines and creating leaks. An adjustable water regulatory with gauge is helpful so you can see the pressure coming from a city or water main and manage it.
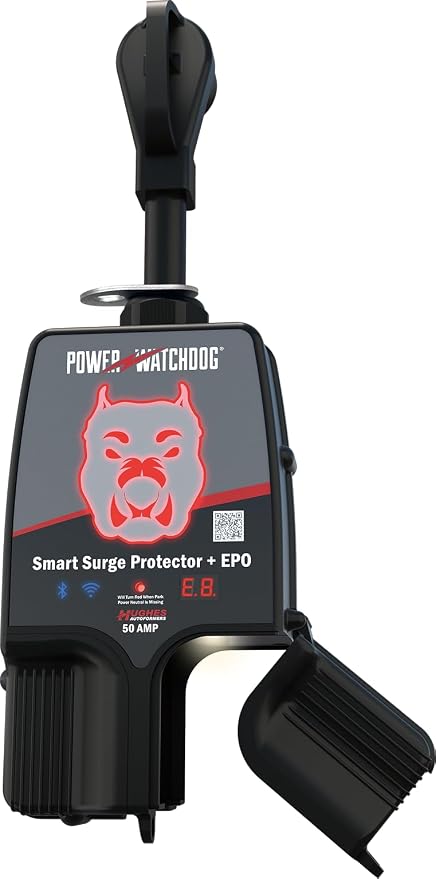
Much like the water regulator, a good surge protector will protect your RV from electrical surges. The Power Watchdog is more than a surge protector. You can connect to your phone with Wifi or Bluetooth to monitor electricity usage and supply. When we moved from 30amp to 50amp service, we talked with many folks who recommended the Power Watchdog. We’re glad we bought it.
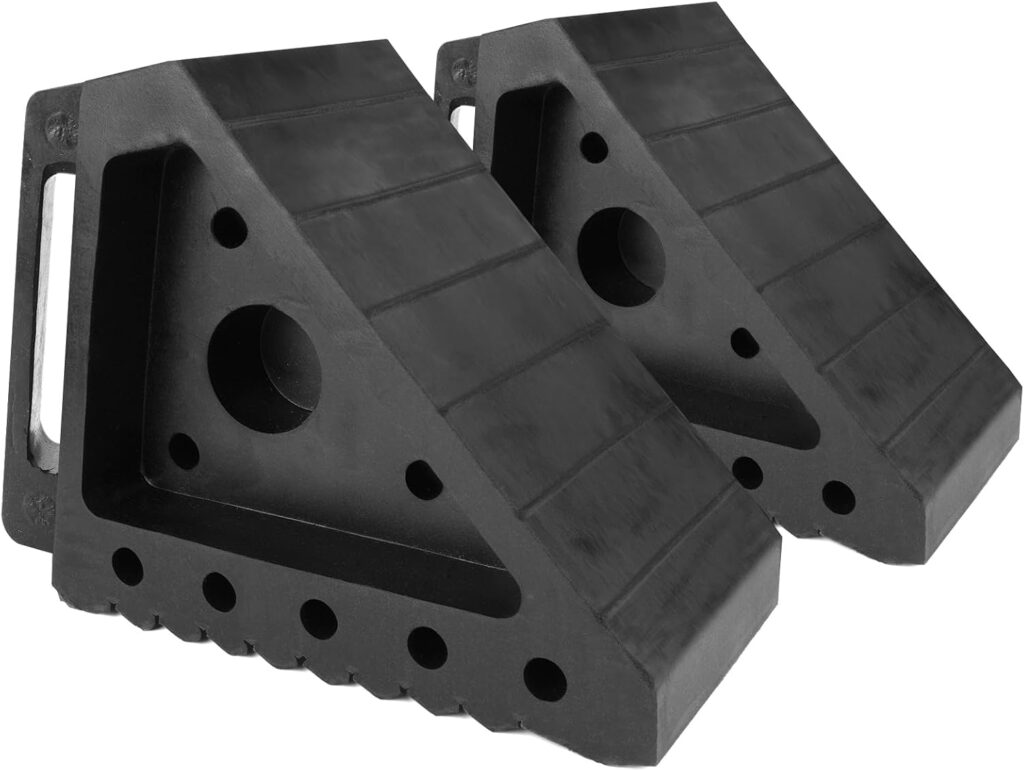
Moving from a bumper pull to a fifth wheel, the RV weight increase was double for us. Trusting the plastic wheel chocks just didn’t seem right. We bought two sets of these rubber ones that are larger and have more friction against the ground and wheel to help keep the RV in place. Given the much heavier RV, we like the idea of some chocks that have more bite to keep the RV where we placed it during hitching up or unhitching.
Wheel Ramp for Assistance when Changing a Tire
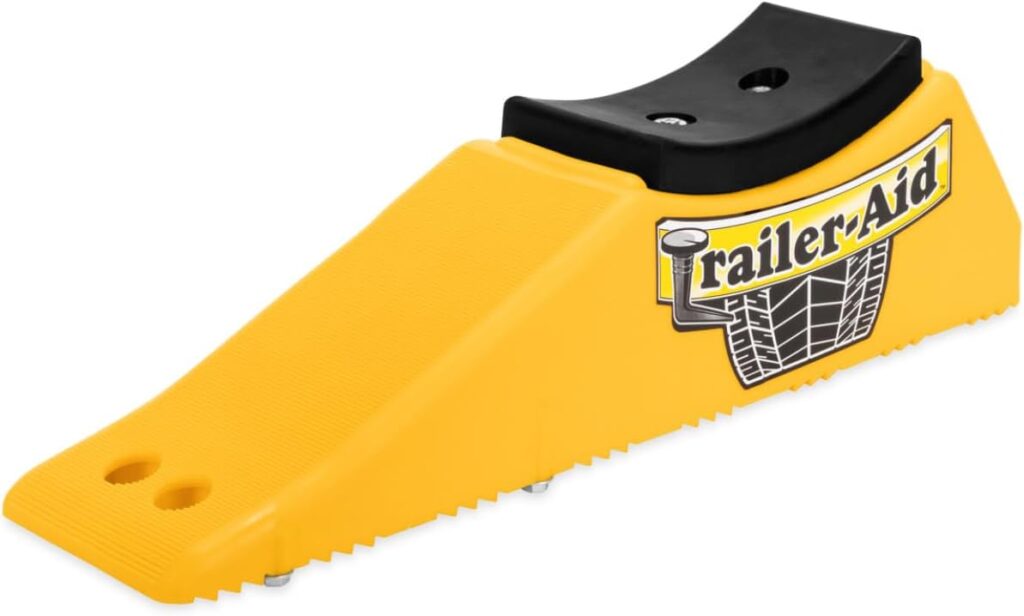
Thankfully, this is a safety tool that we haven’t had need to use in anger. But, I’m glad we have it. Folks have commented online that sometimes it isn’t enough to lift the other axle’s tire completely off the ground, but it does the heavy lifting enabling the jack under the flat tire’s axle to more easily raise the tire for changing. I’m glad we have it and I sure hope we never need to use it.
Safety Note: Items like this ramp may be tempting to pack deep away in storage since they aren’t a daily use item, but consider where you pack them and the ease to access them when you’re on the side of the road trying to change a tire. With our new fifth wheel, my initial impulse was to put it in our front basement access, but immediately realized that getting to that between the truck bed and the trailer wouldn’t be easiest, so it’s now stored in a side-access door area.
Modern Life & Modern Convenience
One of our top choices actually isn’t really an RV-specific essential, but one we have as a modern convenience on the road – our Starlink package.
We opted for the Standard dish. While the Mini is a great system, I wanted a separate route with ethernet ports so I have options for how to connect the smart TV, perhaps a printer and more. Our goal is to do longer road trips when we are both retired and the Standard set-up seemed a good fit for us. Besides, the fifth wheel trailer has plenty of space for the equipment.

Click here to get one month free when you sign up. Using this link, I also get one month free, so it’s a win-win.
Mounting the StarLink on the RV – a ladder pole
Here’s the flag pole mount we chose:
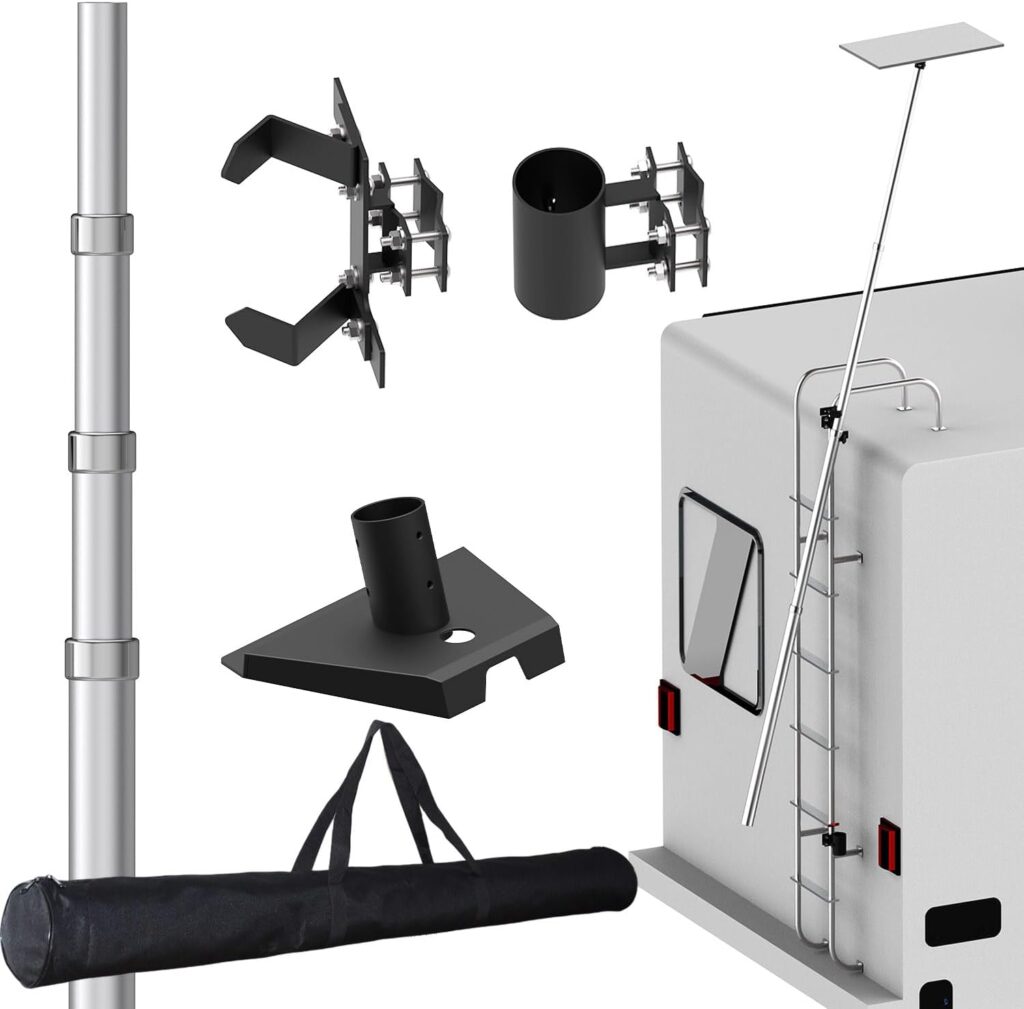
And, here’s a photo of it mounted on our trailer:
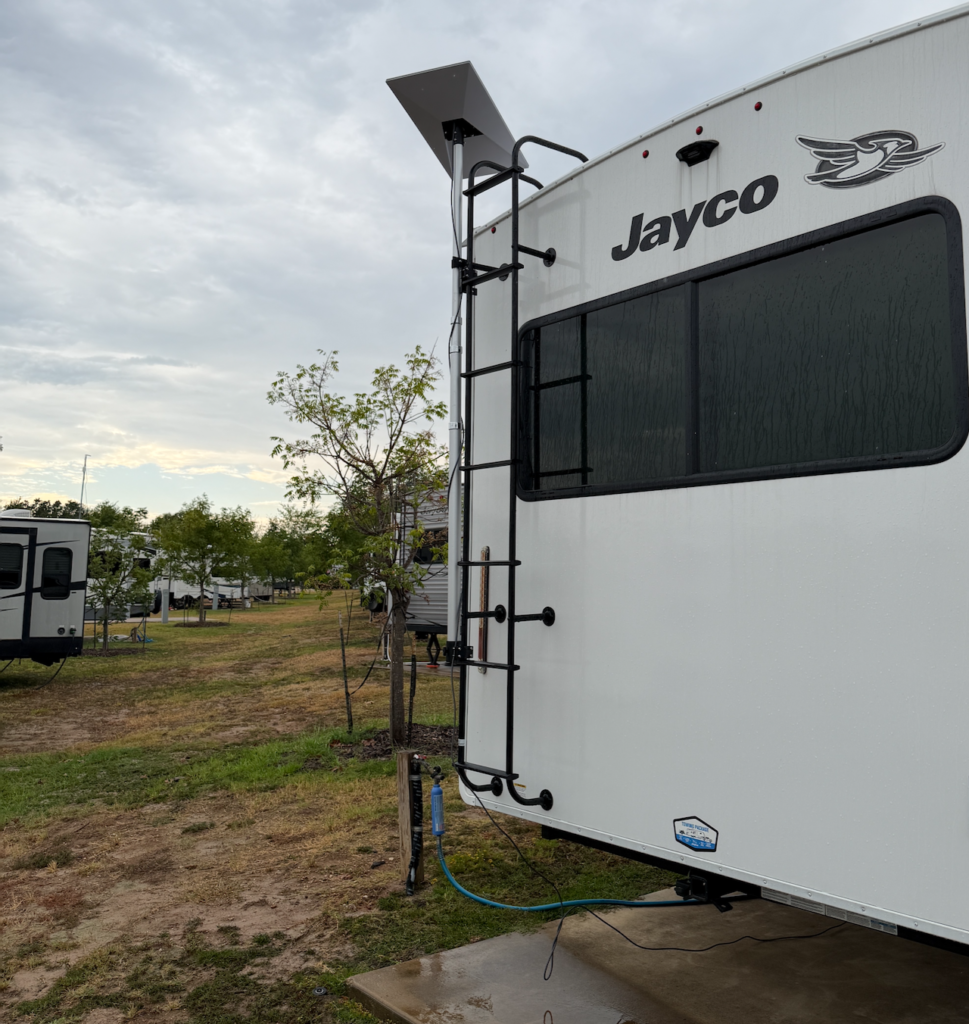
This mount was extremely easy to install on the ladder and the StarLink dish. I even did it in the rain. These types of mounts are very convenient because they are designed such that you can install the pole onto the ladder’s mounts from the ground once you mount the brackets. This type of mount is great for RV parks or other open area (unobstructed sky) locations. For areas with trees where your trailer ladder may have obstructions for the dish, a ground based pedestal unit is useful. We bought the StarLink X-Frame Base for that purpose.
StarLink Wall Mount for Router and Power Supply
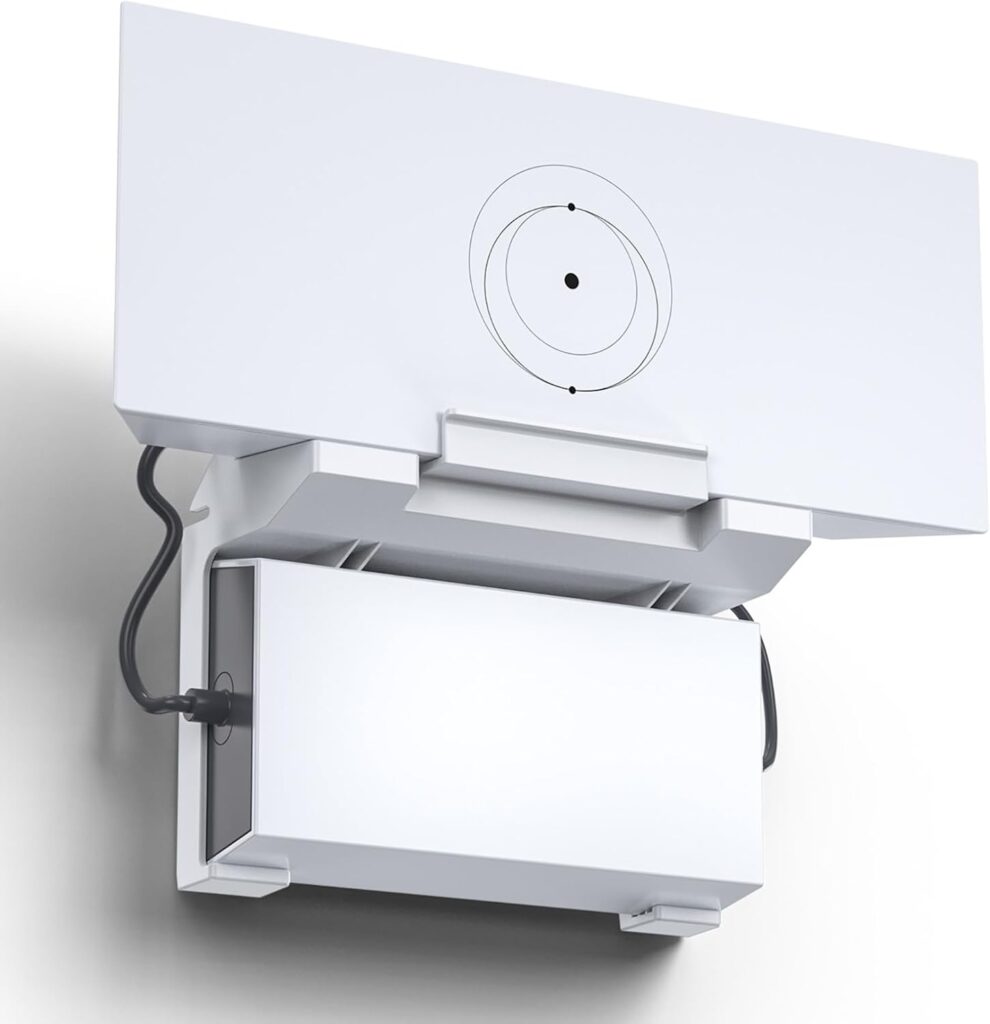
This small bracket keeps the power supply, router, and cables tidied up and out of the way. It’s a great way to have the standard dish system, yet it’s not taking up much room.
Sewer Hook-up
Unless you’re boondocking full-time, you’ll be hooking up to water and sewer connections at your RV site. Here are a few items that make that easier.
One of the upgrades we choose with our new rig was to invest in some quick-connect type connections for the sewer and water connections. Our particular RV resort asks us to disconnect our sewer hose if we leave for the week (reference we’re weekender college football season parked right now) so the hose isn’t cut by the landscape people who come during the week; being able to quickly and easily disconnect those utilities is a plus.
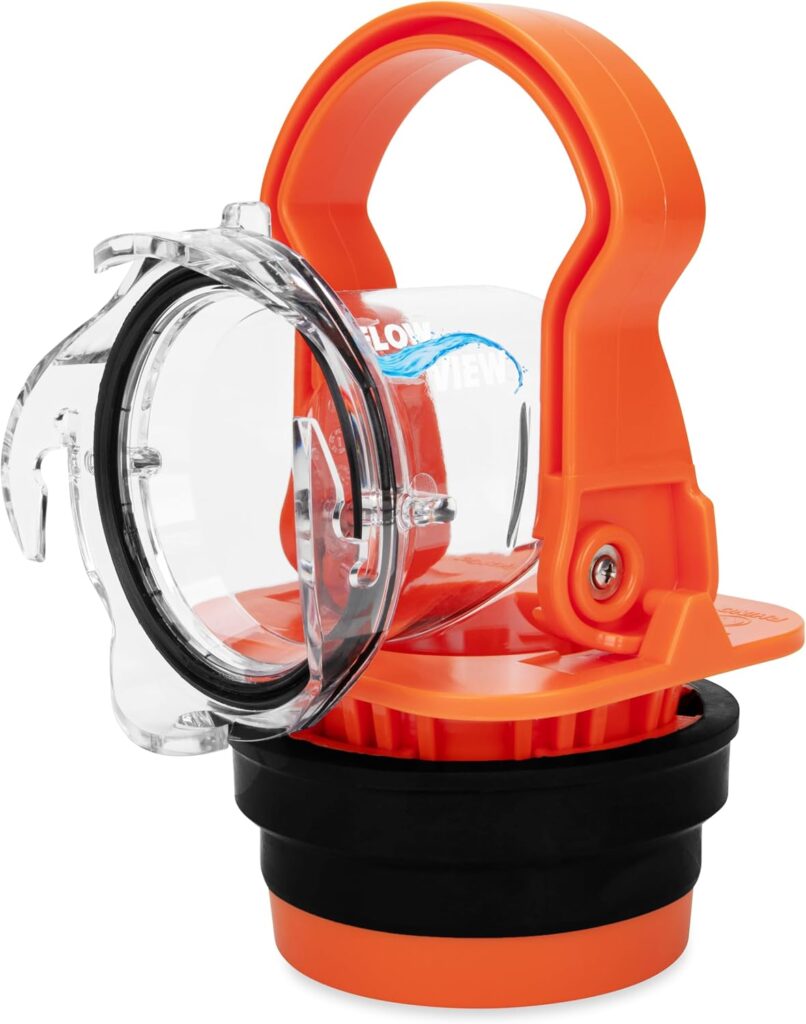
This adapter is great for several reasons. One, it has the clear elbow at the end of your sewer hose. Ask anyone about the challenges of emptying and flushing your black tank and I bet they’ll say knowing when the tank is empty of solids. The clear elbow lets you see the flow coming from the tank and hose – this enables you to keep flushing the tank and line until it’s clean. The other huge benefit is that it uses a handle-90-degree locking wedge adapter to lock into the sewer hook-up. No threads to try to make up to the PVC pipe, just install and rotate the handle down to get a snug connection to the sewer drain. This is very helpful for us at our football season RV park that wants us to disconnect sewer while we are away.
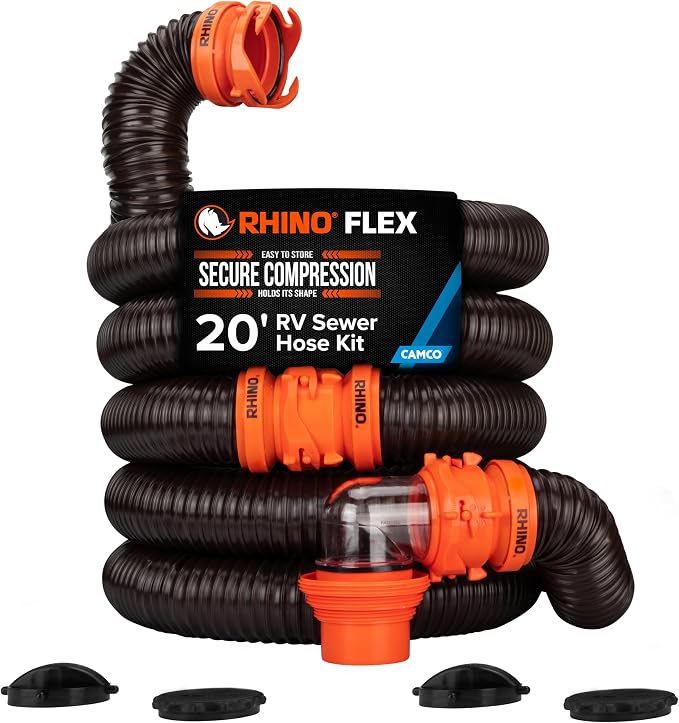
Getting quality sewer hose is important both for longevity and avoiding leaks!
Spare Rubber Gaskets
And, don’t forget to keep some spare rubber gaskets for the bayonet connections. The gaskets can often fall out and get lost. Trust me, you want to have some spares.
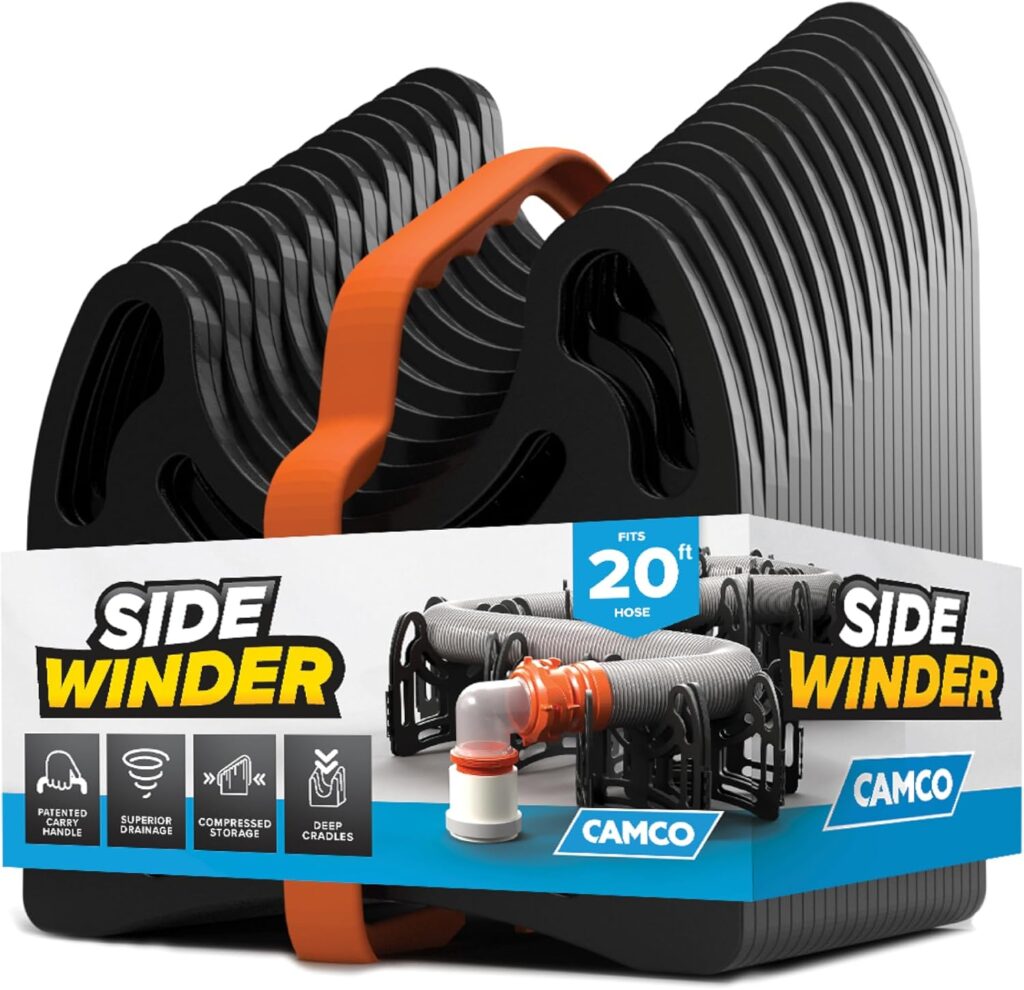
I prefer the accordion-type supports like this that you can adjust to get the best elevation change in your sewer hose to self drain to the sewer connection. We bought ours with our first trailer in 2014 and it’s been great.
The RV Dump Tank – for when you don’t have a sewer hook-up
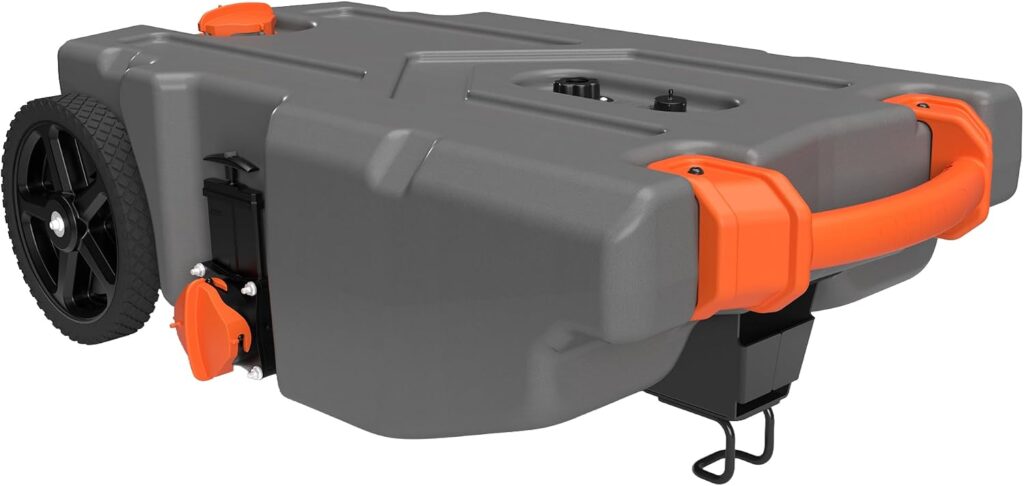
For those stays where you don’t have a full hook-up, an RV dump tank is a must if you will fill your black or gray tanks during your stay. We have this 36 gallon version and take it with us when we know we don’t have a full hook-up.
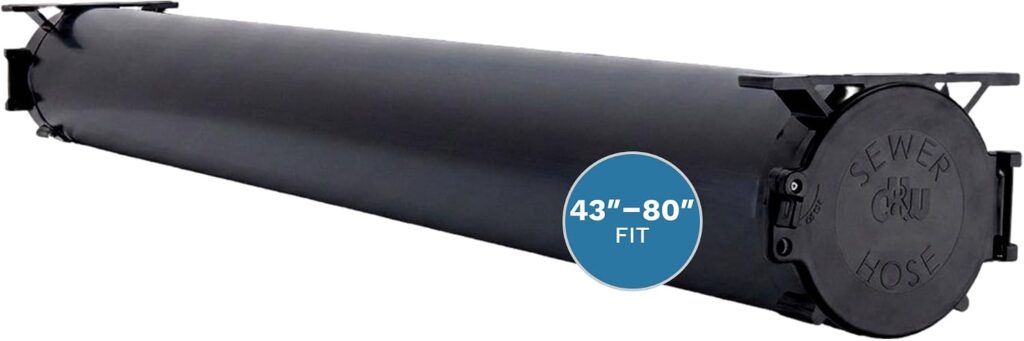
We have two of these under-RV storage tubes to store our sewer hoses. I’d rather have a few hoses to ensure we can the hook-up, but I’d rather not have them in my basement storage area. Storing in a tube under the RV is a convenient and more hygienic way to store sewer hose.
Water Hook-up
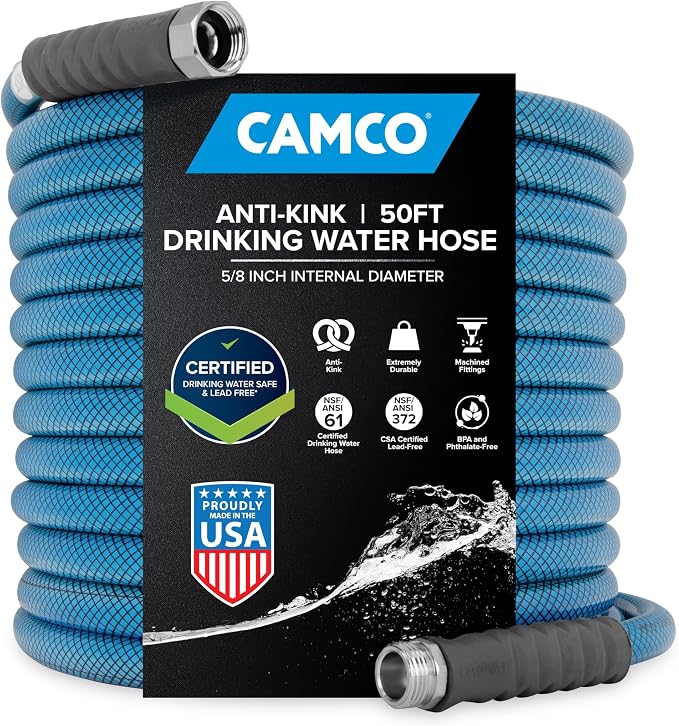
I like using water connections with stainless steel connections when I can. I’ve yet to find a stainless steel water regulator, so that’s still a brass one. This Camco water hose has held up great for us. Consider different length hoses depending on how you like to set-up. We went with one 50ft length hose, but I’m considering a separate multi-stage water filter unit, so I might need to get a 10ft version as well. We’ll see.
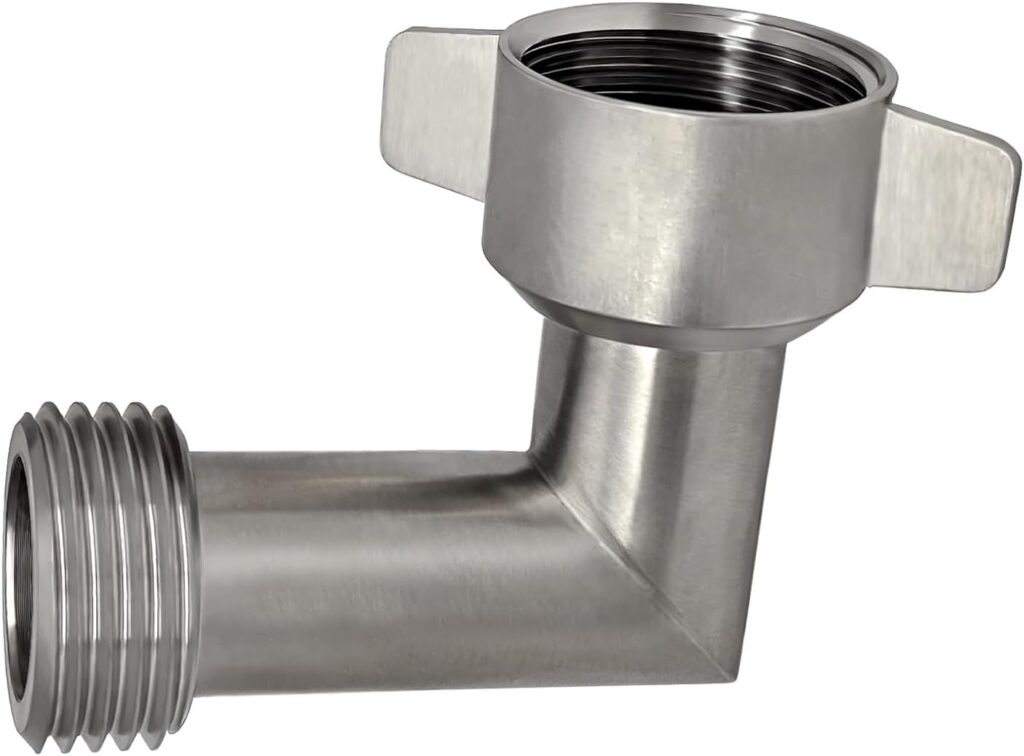
Having a 90-degree elbow at your RV water connection is a great way to reduce bending loads from the hose onto your (plastic, likely) RV water connection. It also enables the hose to point more directly to the ground at the angle you choose to keep the hose closer to the RV and perhaps a bit better protected from kids or others who may trip over it.
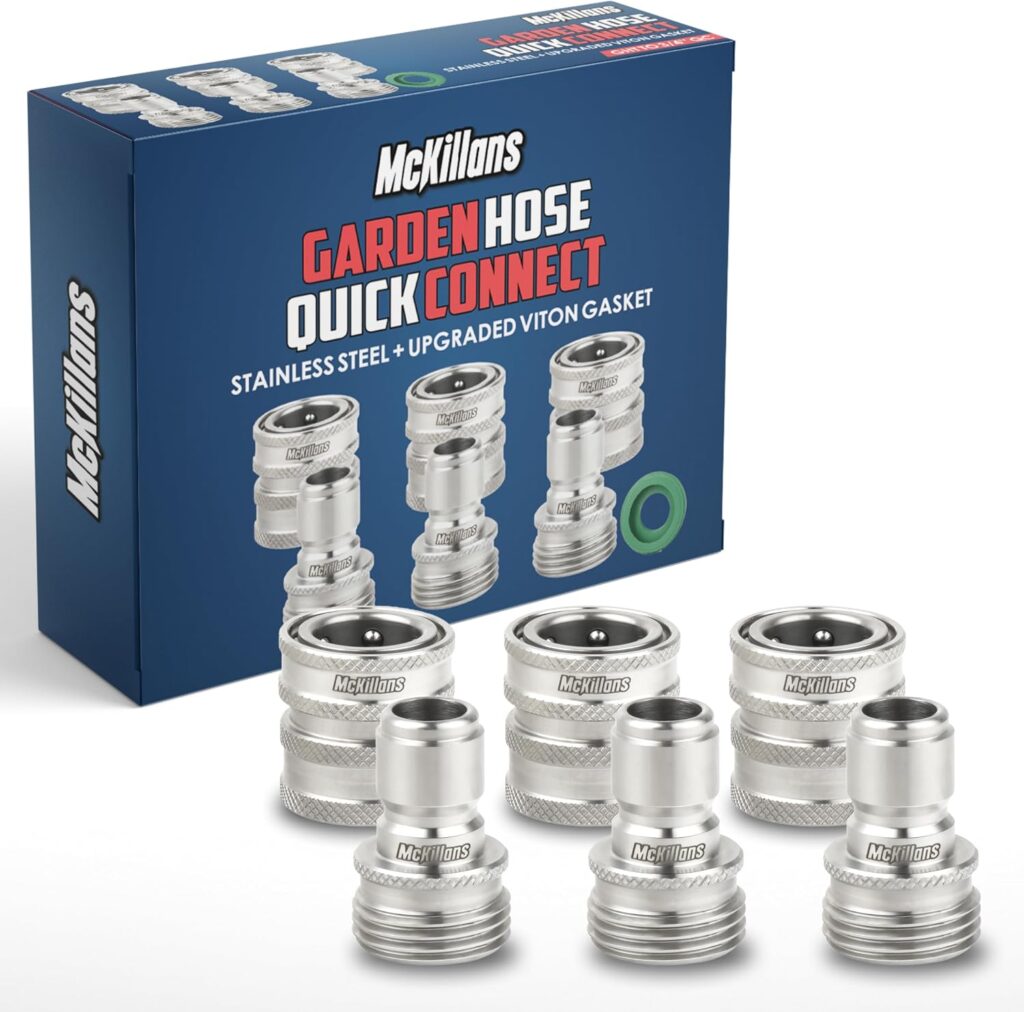
Much like the sewer hose quick-connection, these water hose quick connects are fantastic to quickly connect or disconnect water hoses without having to mess with threaded connections. Besides general convenience, it also takes some wear & tear off the connections – especially if the other connection is plastic, like a camper connector or some wye-splitters.
Leveling Your RV
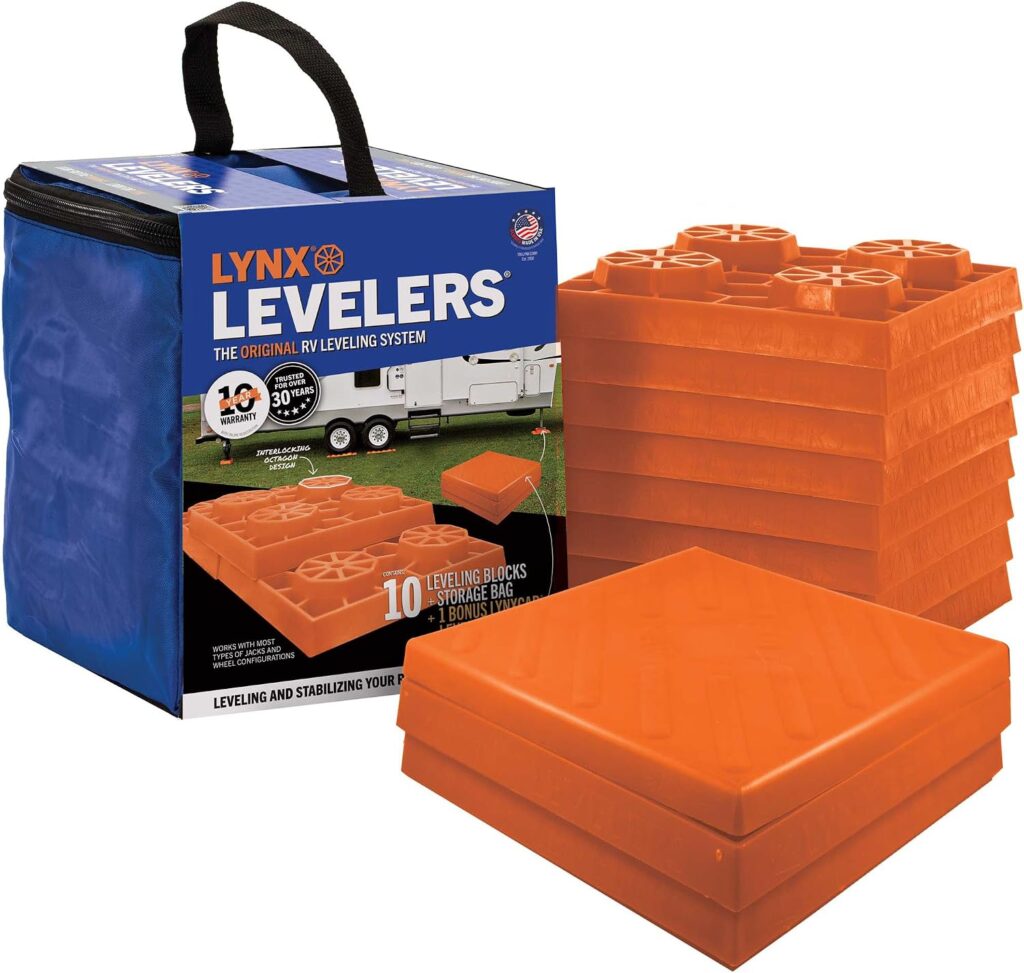
We have always used the ‘lego-like’ stackers for leveling our RV, so I’m partial to them. They’re easy to use and store efficiently. We keep two sets of them now that we have a tandem axle trailer.
Just In Case
Battery-powered cordless tools
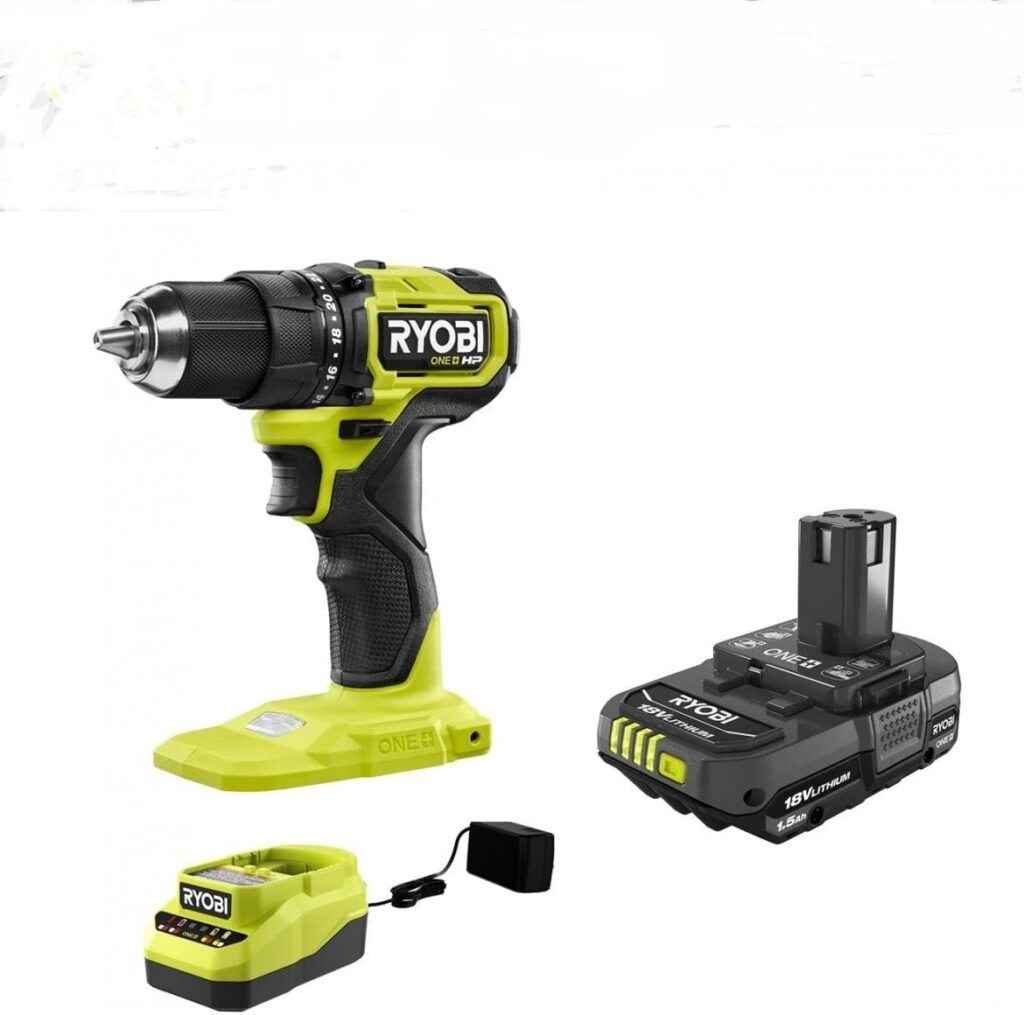
I recommend you invest in some battery-power cordless tools. There is always something to maintain or repair – having the right tools is important.
Key Tip: Select a manufacturer (ie, battery ecosystem) and stick with it for all your cordless power tools, so you can share batteries across all your tools.
Buy them in combination packages when they are on sale, if you can wait. That usually means you’ll get an extra battery and charger, which is always handy to have extra ones to keep you working.
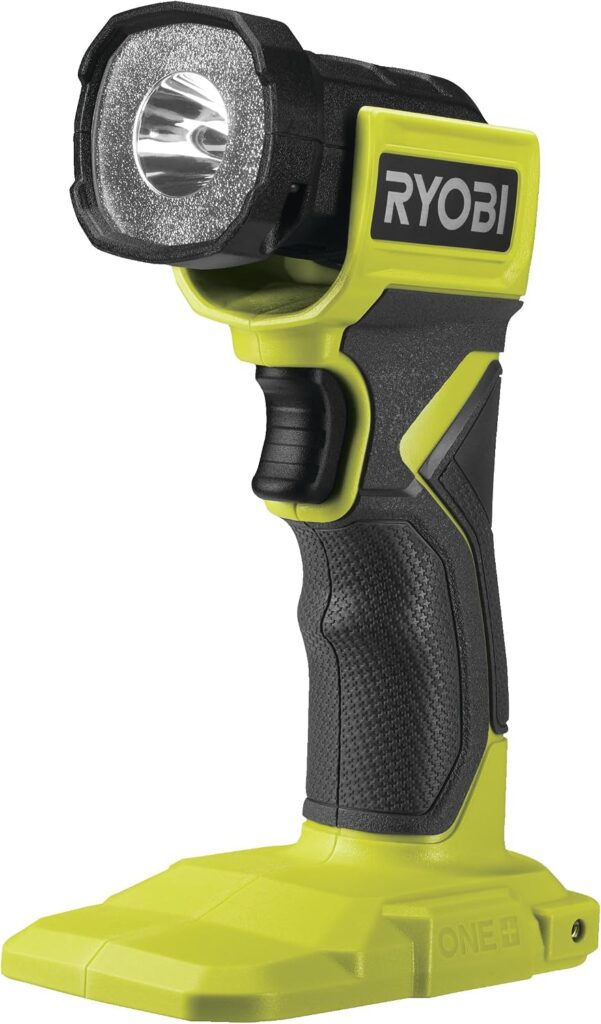
For me, that is Ryobi. I like their quality and price-point, especially knowing that it is occasional but regular use.
So, that’s it for our list of fundamental tools and equipment for setting up our RV. We have other useful recommendations that you can find my Amazon RV Essentials page, but for now, we’re leaving the list above as it.
Enjoy Life and Your Travels, thanks for reading.
-Jeff